Wednesday, December 4, 2013

Slow Cooked Chili Lime Almonds


I either heard or read a story recently about how wonderful nuts are as a healthful snack and good source of plant based protein and nutrients.  That story made me hungry and gave me a great excuse to cook up a good snack.  


Did you know that you can roast nuts in your slow cooker?  Well, you sure can, and they are delicious!  I daresay, using the slow cooker should reduce the risk of burning the nuts, something that may happen quickly when using the oven or stovetop methods.  

This method comes from the fantastic cookbook, Fresh from the Vegetarian Slow Cooker, by Robin Robertson.  This book boasts a wealth of easy, plant based recipes that you can easily throw into the slow cooker and then live your life, carefree, for the next eight hours or so, at which time dinner will be ready.  

The flavors come from an appetizer I shared with my sister while visiting her in San Francisco.  She lovingly walked me to a super gourmet vegetarian restaurant, in the rain, to enjoy this and other delicious food.  I don't remember what else we ate, but those almonds were awesome and this is my attempt to recreate those flavors.  Now, if only I could recreate the experience of hanging out with my sister!  

This recipe works best in a three or four quart slow cooker.  You could probably make a larger cooker work, just watch the contents a bit more to make sure nothing burns.  Burnt chili powder is not a pleasant smell to grace your kitchen.

Slow Cooked Chili Lime Almonds

Makes 4 Cups

1 pound of unsalted, raw almonds
3 tablespoons olive oil
Juice from one fresh lime or 3 tablespoons bottled lime juice
2 tablespoons chili powder 
¼ teaspoon salt


1. Combine all ingredients in a 3 or 4 quart slow cooker.  Stir well.

                            
2. Cover, set the heat to high and cook for 15 minutes.
3. Uncover the slow cooker and reduce the temperature to low.  
4. Continue to cook the almonds for 2 ½ hours, stirring occasionally.
5. Spread cooked almonds on a cookie sheet in a single layer to cool.  Once cool, transfer to an airtight container and store in the refrigerator or freezer until ready to eat.  Enjoy!   


Tuesday, November 12, 2013

Sweet Potato, Apple and Pumpkin Soup


This recipe just screams autumn to me.  I recently made this after volunteering at an Octoberfest event in downtown Macon, GA.   The event boasted several local home-brew beer  recipes and the unveiling of Macon Beer Company's Macon Progress brew.  I was not able to sample the selections since I was working and have a small child to look after, but my husband had a blast tasting all that the local Middle Georgia talent has to offer.  

It was a chilly, windy day and there were pumpkins everywhere.  I knew we had to have soup for dinner to warm up after spending the day outside and how could I ignore the muse of pumpkin all around me?  The apple cuts through the heavy combination of the sweet potato and pumpkin very nicely, bringing a tart sweetness. 

This is my adaption from a recipe in the fun and wonderful cookbook, "How it all Vegan" by Tanya Barnard and Sarah Kramer.

1 medium onion (4 ounces) roughly chopped 
1 Tablespoon coconut oil
2 cups vegetable stock + 2 cups of water
2 cups sweet potatoes (12 ounces), peeled and diced
1 large or 2 medium apples (22 ounces total), cored, peeled and diced
2 cups Pumpkin Puree 
1 ½ teaspoons Kosher salt
½ teaspoon nutmeg
¼ teaspoon rubbed sage
⅛ teaspoon cayenne pepper 
A few turns of fresh black pepper 
2 teaspoons tamari or soy sauce

1. In a large soup or stock pot, saute the onion in coconut oil on medium heat until the until is translucent and beginning to brown.  
2. Add about ¼ cup of the stock to the pan and scrape up any browned bits of onion. 
3. Add the rest of the stock, water, sweet potatoes, apples, pumpkin and spices, excluding the tamari or soy sauce.
4. Bring to a boil over high heat, reduce heat and simmer on low for 30 minutes, until the vegetables are tender.
5. Remove from heat and use an immersion blender to blend the soup until it is silky smooth.  Alternatively, transfer the soup in batches to a regular blender and blend until smooth.  
6. Before serving, stir in the tamari and portion out servings.

Garnish with toasted pumpkin seeds and serve with your favorite crusty bread or rolls.  

Makes about 7 cups

Pumpkin Blueberry Smoothies

Even though sharing a smoothie recipe feels silly, I think it's necessary because smoothies make up about 30% of my daughter's diet.  Somehow, "throw a bunch of stuff in your blender" doesn't feel like much of a recipe suggestion.  Just in case you were looking for ways to add veggies to your smoothies and still have them be delicious, here you are.  This recipe is designed to fit in a pint sized mason jar, which I have found is the perfect serving size for my two year old.  Plus, I really like using a mason jar for my blender jar.  It makes all the ingredients stay really close to the blade and blend well.  Feel free to double or triple the quantities to suit your needs or better fill your favorite blender.  


1 large banana
¼ cup fresh or frozen Pumpkin Puree, (2 ice cubes worth)
¼ cup frozen blueberries
½ cup plain yogurt

1. Place all the ingredients in a blender and blend until smooth.  Serve immediately.


Thursday, November 7, 2013

Curry Powder

If you find store bought curry powder to be overwhelmingly strong, please try this recipe!  It has a complex curry flavor without being super stinky and lingering.  You can use this in traditional curry dishes, but it's also wonderful sprinkled on popcorn or used to flavor pumpkin seeds.


Spread out and
stir to prevent burning
Spices Toasting


1 tablespoon whole cumin seeds
1 tablespoon whole cardamom seeds
1 tablespoon whole coriander seeds
1 tablespoon mustard seed
2 tablespoons ground turmeric
½ teaspoon cayenne pepper
½ teaspoon ground ginger

Directions
1. Lightly toast the cumin, cardamom, coriander and mustard in a dry skillet over medium low heat.  Stir frequently while toasting until fragrant.  Transfer seeds to a plate and let cool until you can easily handle them.  
2. Place seeds into a spice grinder and process until powdered.  Transfer ground seeds and remaining spices into a small container and shake to mix evenly. 

The Easiest Way to Make Pumpkin Puree from a Real Pumpkin


When I was a young child, my favorite pie was pumpkin pie.  For some reason, I referred to said pie as "buttabutt".  I distinctly remember my Aunt Marion baking this pie, specifically her removing it from the oven, the filling looked so shiny and beautiful golden brown, the smell was fantastic, the cooling period was torture.

I took over the pumpkin pie baking duties as a teen.  I always despised making the crust, so I'd often go with store bought.  I used the recipe on the can of "Libby's Pumpkin Puree" with fantastic results.

At some point in adulthood, I decided to ditch the can and make pumpkin pie from a real pumpkin and always make my crust from scratch.  This is by far the easiest way that I have found to process a whole pumpkin and use all that the pumpkin has to offer, flesh, seeds and even pumpkin juice!

This recipe uses a pie pumpkin.  You can tell the difference between a pumpkin whose intended use is decoration and one whose intended use is eating.  Pie pumpkins are generally smaller and a deeper orange color than carvers.  They will also be labelled as such in the store or at the market.  I use this method for cooking any kind of winter squash that I plan to use in puree form or spaghetti squash.
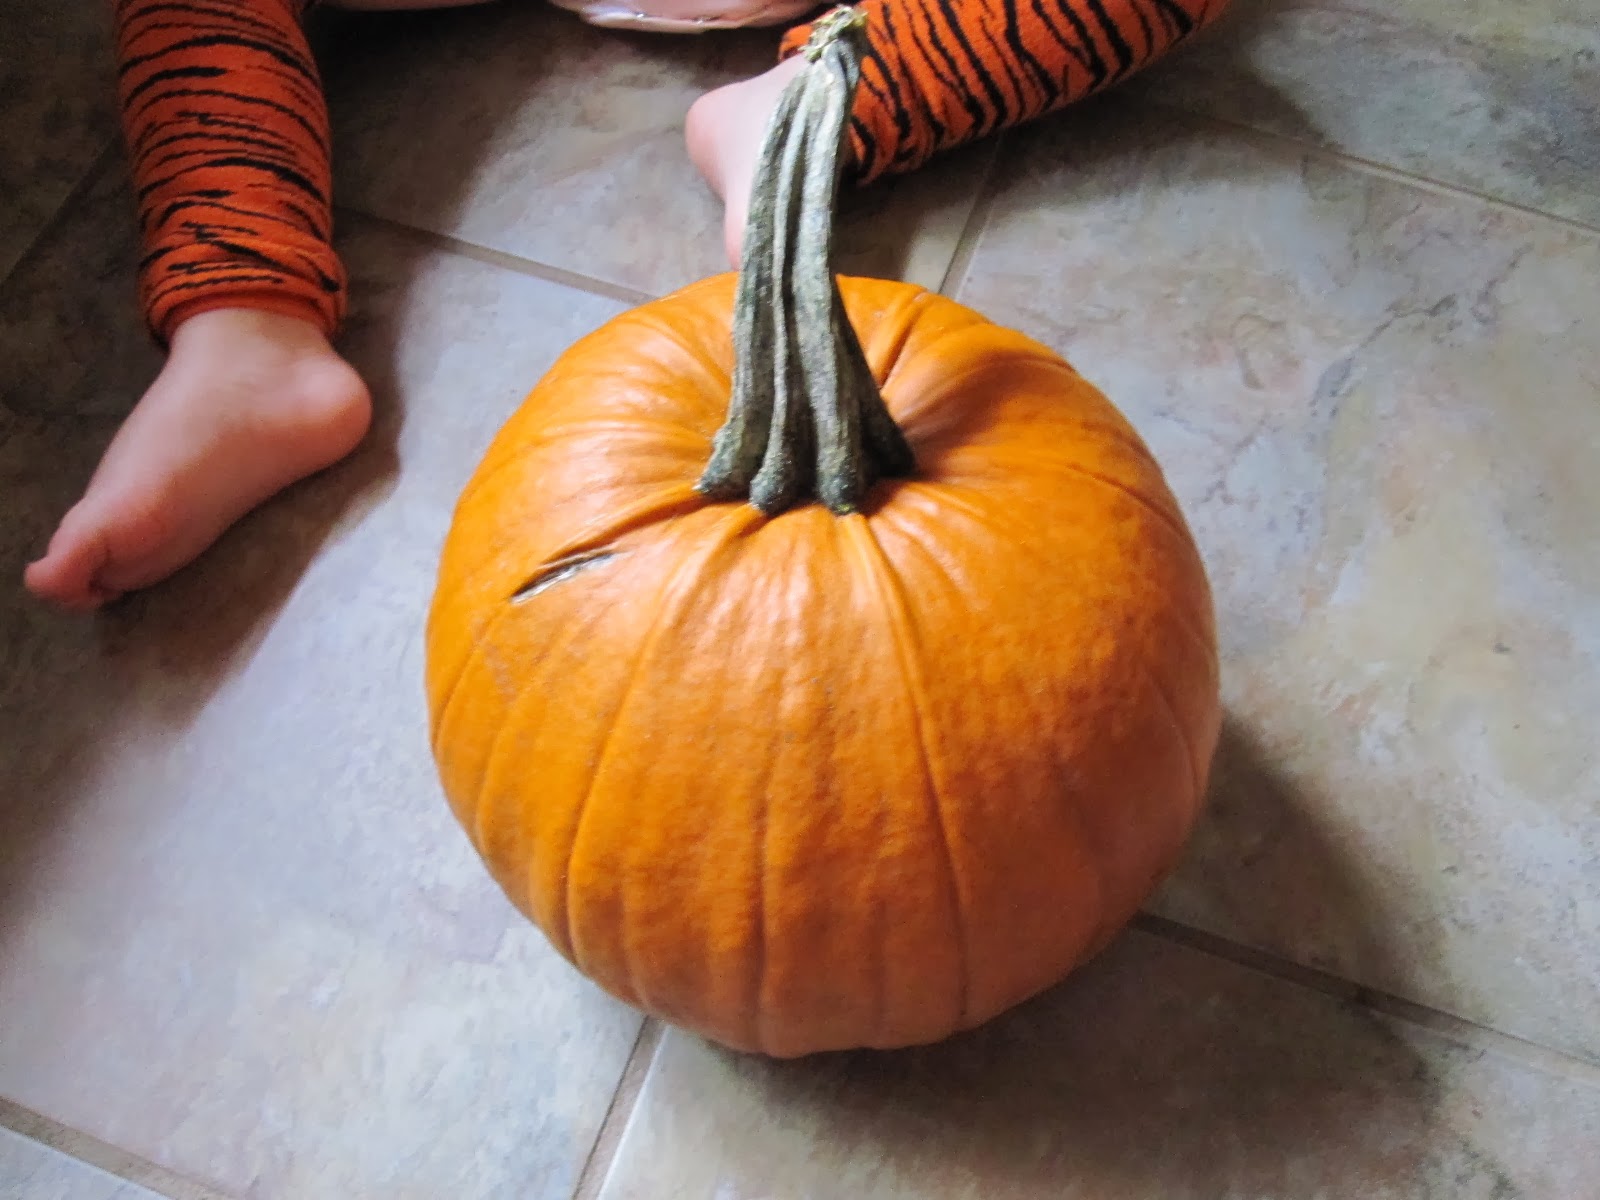
The Pumpkin
Playing with the pumpkin,
one last time


Fresh Pumpkin Puree

1 large or 2 small pie pumpkins
Butter and seasoning for the seeds
Pumpkin Pie Spice for the syrup

Part I-Cooking the Pumpkin

1. Preheat your oven to 400and move rack to lowest position.
2. Thoroughly scrub the outside of your pumpkin using a vegetable brush, soap and water.  Dry thoroughly. 
3. Place pumpkin or squash on a rimmed baking sheet, the squash will release a lot of juice while roasting, so a rimmed baking sheet or roasting pan is essential.

To make the best use of oven heat and space,
I also roasted a spaghetti squash for dinner.

4. Move squash and pan to the oven and roast until the flesh easily gives way to gentle pressure.  This will take an hour or longer.  The pumpkin I used for writing this recipe was 6.5 pounds and took 1.5 hours to cook.  It was a chilly day so I was grateful to have the oven warming up the house with the smell of roasting pumpkin.

Notice the squishiness of the squash.

5. Once the pumpkin is tender, turn off the oven.  You may let the pumpkin cool in the oven.  It will take some time to cool enough so that you may handle it.
6. Once it's cool enough to handle, cut the pumpkin in half.  

The seeds are delicious too.

Scrape out the seeds and membrane holding the seeds and transfer to a large bowl.  


Scoop out the flesh into a food processor.  Process in batches until you have a smooth puree.
7. Transfer the puree to a strainer or colander set over a bowl and let drain for a few hours or overnight in the refrigerator.  Reserve the juice if you wish to make Pumpkin Syrup.

Holding period before meeting the food processor.

Use the strained puree just as you would canned puree.  My 6.5 pound pumpkin yielded 3.5 cups of puree.  If you have extra, no worries!  Pumpkin freezes wonderfully.  I divide mine between ice cube trays to use for smoothies and quart size freezer bags in two cups portions.  

Part II-Roasting Those Delicious Seeds

1. Fill the bowl with seeds and membranes with cool water.  Take a handful of seeds and rub between your hands to separate from the membrane.  Continue until you have cleaned all the seeds.  Drain and transfer seeds to a rimmed baking sheet.  Press dry with a kitchen towel.  At this point, you may leave the seeds overnight to ensure they are very dry.
2. Preheat oven to 275 .
3. Combine 2 tablespoons of melted butter with 2 teaspoons of the spice mix of your choice.  I used 2 teaspoons curry powder and ½ teaspoon of salt for a curry roasted pumpkin seeds.  
4. Toss the butter and spice mixture with the seeds until they are well coated.
5. Transfer baking sheet to the oven and roast for about 30 minutes, until seeds are golden brown and crunchy.  You will want to check the seeds at 10 minutes intervals and stir to prevent burning from hot spots in the oven.

Part III-Pumpkin Syrup

Pumpkin Syrup
1. Collect the juice strained from the puree and add to a saucepan with 1-2 Tablespoons of sugar and ¼-½ teaspoons of pumpkin pie spice.  The variation in measurement is due to the inability to know exactly how much juice your pumpkin will yield.  I used 2 Tablespoons of sugar and ½ teaspoon of spice to flavor 4 cups of juice, which made ¾ cups of syrup. 
2. Bring juice to a boil over medium high heat.  Reduce to low and simmer until juice is reduced by ½-¾, depending on how you like your syrup.  

Use the syrup to flavor coffee by adding 1 to 2 teaspoons to your cup.  You may also make flavored whipped cream, soda, mixed drinks, anything you'd like, really!  

How did I use my puree?  
I made:

Sweet Potato, Apple and Pumpkin Soup garnished with Curried Pumpkin Seeds


and Pumpkin Blueberry Smoothies for the Little One

A nice variation from the
berry-banana blend


Thursday, October 17, 2013

Sweet Potato and Summer Squash Tacos

The climate and growing season is very interesting in Georgia.  Currently, it is October.  To this Jersey girl, that means cool weather, brisk nights and crisp air.  However, in Georgia, it is still averaging 80 and muggy with heavy air.  But, what we give up in comfort, we gain in available fresh veggies.  Summer squash is still in season while cool weather crops, like sweet potatoes, are popping up.  It occurred to me to unite these unlikely companions and make tacos, a perfect excuse to open a jar of the salsa I put up over the summer.  The husband and I were both thrilled with the results.  The toddler ate beans and tortillas and, therefore, was also thrilled.   

I forgot to take a picture of the sweet potato before I diced and cooked it. 

Sweet Potato and Summer Squash Tacos
Makes 12 Tacos

1 Large Sweet Potato, 14 ounces
2 Medium Summer Squash, 12 ounces
1 Small Yellow Onion, 5 ounces
2 Small Sweet Peppers, 3 ounces
2 teaspoons Taco Seasoning
1 ½ Cups of Cooked Cranberry or Pinto Beans
Your choice of guacamole, salsa and shredded cheddar cheese for topping.  

1. Peel and dice the sweet potato into a ½ inch dice.  Add to a 3 quart pot filled with cool water with 1 teaspoon of salt.  Bring potatoes to a boil over high heat.  Reduce heat to medium high and continue to gently boil for about 5-8 minutes, until potatoes are just tender.  You don’t want the potatoes to become a mushy mess once you add to the other vegetables.  Drain potatoes and return to the hot pot.  Set aside.
2. Thinly slice the squash, onion and peppers.  A mandoline slicer works nicely here, or just use a nice sharp knife.   
3. Heat 1 tablespoon of olive oil in a skillet over medium heat.  Saute the onion until it is translucent and just beginning to brown.  Add the pepper and squash and continue to saute until the vegetable are tender-crisp.  Add seasoning and salt to taste.
4. Add drained potatoes and mix well to incorporate with other vegetables and seasoning.  
5. To assemble, place about 2 tablespoons of beans in the corn tortilla.  Top with about 2 tablespoons of vegetable mixture and your choice of cheese, salsa or guacamole.  We used all three, because that's just the kind of family we are.  


If you can get away with any leftovers, the filling makes a really nice sandwich spread.  

Fresh Corn Tortillas

This recipe is straight from the bag of Bob's Red Mill Masa Harina Flour with some editorializing. It makes a delicious tortilla and also an interesting cornbread.  


My tortilla cooking setup
As cornbread


2 Cups Masa Harina Corn Flour
½ teaspoon Sea Salt
1 ½ -2 Cups Hot Water

1. Mix the salt into the masa harina corn flour.  Slowly pour the water onto the dough to get a good consistency.  The dough should be firm and springy when touched, not dry or sticky, like playdough. 
2. Let the dough rest for 1 hour, covered.  
3. A few minutes before your hour is up, preheat a grill or flat cooking surface to medium heat.  
4. Divide the dough into 12, 2 inch balls.  Press using a tortilla press or roll between two sheets of wax paper until you have an approximately 6 inch circle.  
5. Place dough on hot grill and cook until you can start to see little air bubbles rising to the top of tortilla, about 1 minute.  Flip and continue to cook for a few seconds.    
6. Serve immediately or keep warm in a 175 degree oven.  

Sunday, October 13, 2013

Sweet Potato Carrot Fritters


The word fritter has entered our dinner menu frequently in recent months.  Almost any vegetable does well with a quick shred, salt, drain, form and fry to form a delectable patty.  You can even mix up the seasonings depending on your mood.  Think potato pancake with more veggies.  I decided to post this recipe because my husband could not stop talking about how good these were.


My daughter was less impressed.  While she did not throw her food on the floor, she did sit at the table in silent protest, refusing to eat until I reminded her that she had bread on her plate.  We ate these on homemade whole wheat buns with cumin squash pickles, pea tendril and sorrel mix, and salsa spread.


Sweet Potato Carrot Fritters


Makes 9 Fritters

4 Large Carrots, 10 ounces
1 Large Sweet Potato, 11 ounces
1 Medium Red Potato, 6 ounces
2 Small Sweet Peppers, 4 ounces
1 Medium Yellow Onion, 6 ounces
 ½ Tablespoon Kosher Salt
⅛-¼ Cup White Whole Wheat Flour
1 Egg
½ Teaspoon Taco Seasoning
¼ Teaspoon Chili Powder

olive oil to pan fry

1. Grate the carrots, sweet potato, red potato, peppers and onion using a food processor or the large holes of a box grater.
2. Transfer the grated veggies to a large bowl, layering while you go with the salt.  Toss the veggies until salt is well incorporated.  If this sounds like a lot of salt, don’t worry, much of it will drain out along with the veggie juices.  Transfer to a colander placed over your large bowl and let sit for a minimum of 30 minutes, maximum of a few hours in the refrigerator to allow the vegetables to release their juices.

 3. Using your hands, squeeze out as much juice as you can.  One nice trick is to transfer the mix to a cloth napkin or dish towel, pull up the corners to make a neat bundle and twist and squeeze to get out all that water.  The more water you extract, the less greasy your fritters will be.                                            
Squeezed Veg
All the extracted juice


4. Coat a deep frying pan with enough oil to completely cover the bottom.  Heat the pan and oil over medium low heat until the oil begins to shimmer. 

5. Mix your drained veggies with the flour until you have a nice, dry mix.  Add egg and seasonings and mix thoroughly.


6. Using a ¼ cup measure, scoop out the mixture and form into patties about 3 inches in diameter and ½ inch thick.  As your form patties, place into the hot oil and fry for about 3 minutes on each side until golden brown.  Remove fritters to a wire cooling rack placed over a cookie sheet to cool and drain.  


7. Continue forming and frying patties until you have used all the mix.  You may keep the patties warm in a 200 degree F oven, if desired.
8. Serve as a topping for a dinner salad, on a bun or bread, or eat as is for a simple approach.  For a nice accompanying sandwich spread, mix equal parts prepared salsa and strained yogurt, spread on your bread, add a patty and some greens and you have a rad sandwich.  These are nice the eat the next morning on the side of some eggs, hash brown style.


<a href="//www.pinterest.com/pin/create/button/?url=http%3A%2F%2Fwww.flickr.com%2Fphotos%2Fkentbrew%2F6851755809%2F&media=http%3A%2F%2Ffarm8.staticflickr.com%2F7027%2F6851755809_df5b2051c9_z.jpg&description=Next%20stop%3A%20Pinterest" data-pin-do="buttonPin" data-pin-config="above"><img src="//assets.pinterest.com/images/pidgets/pin_it_button.png" /></a>